Quick Start
Get your camera flying in a few steps.
1. Open the Panel
- Switch to Object Mode or Pose Mode (if using armature).
- Open the Sidebar in the 3D Viewport (press N).
- Find the blenderfly tab.
2. Verification
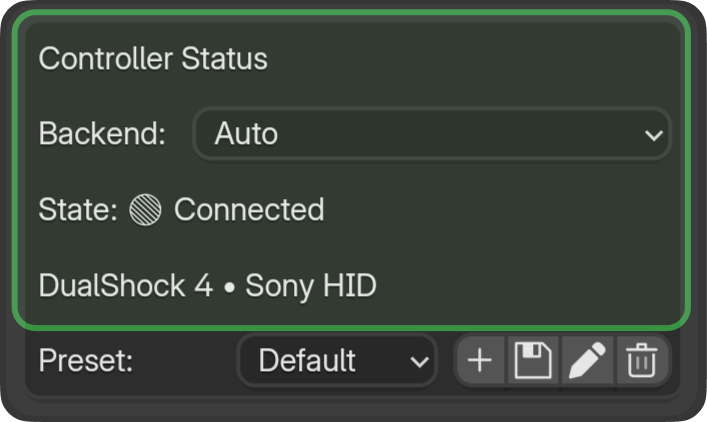
Connect your gamepad — the addon auto-selects the backend (XInput/Sony HID) and detects the controller. The status will show Connected when the controller is ready. If it doesn't connect, see Input Monitor for troubleshooting.
3. Select a Camera
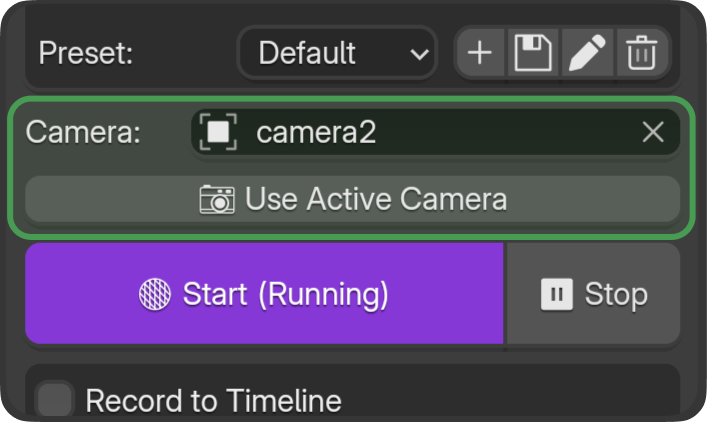
- The plugin automatically flies the currently active camera — even if you don't pick one manually.
- Click Use Active Camera to bind control to the current scene camera.
- Or pick a camera from the Camera dropdown.
4. Start Flying
- Click Start in the blenderfly panel.
- Left stick — Movement (forward/back, strafe left/right).
- Right stick — Look (pan, tilt).
- Triggers and bumpers — Zoom (FOV), roll, timeline control.
5. Record to Timeline (Optional)
- Enable Record to Timeline before clicking Start.
- Start timeline playback (Space or A on gamepad).
- Click Start and fly the camera.
- Click Stop — keyframes are written to the timeline.
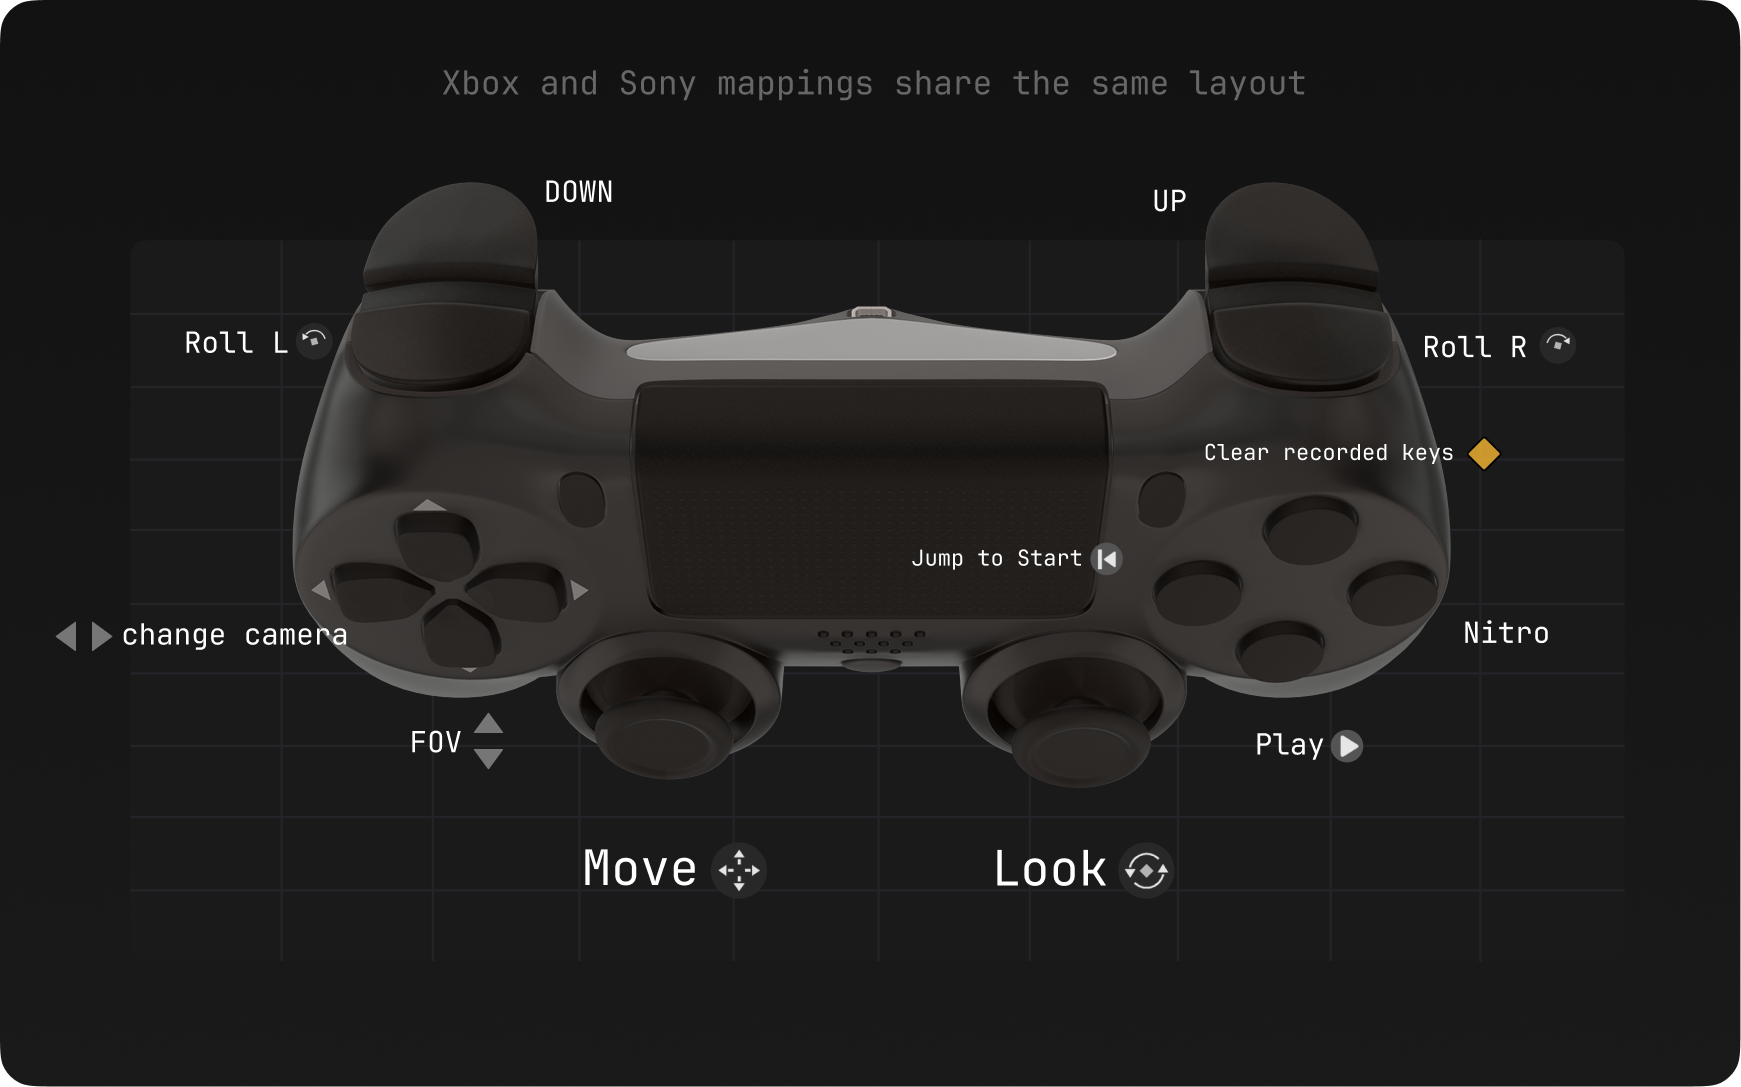
Default Button Mapping
| Control | Action |
|---|---|
| Left stick | Movement (forward/back, strafe) |
| Right stick | Look (pan, tilt) |
| B (Xbox) / Circle (PlayStation) | Nitro — Hold to boost (0–10× speed) |
| D-Pad Up/Down | Switch cameras on the fly |
| A (Xbox) / X (PlayStation) | Play timeline |
| X (Xbox) / Square (PlayStation) | Jump to Start |
| Y (Xbox) / Triangle (PlayStation) | Next frame |
Next Steps
- Movement & Look — Sticks and axes in detail
- Presets — Save and load settings
- Tuning — Speed, smoothness, curves