Timeline Recording
Record keyframes to the timeline as you fly the camera with the gamepad.
How It Works
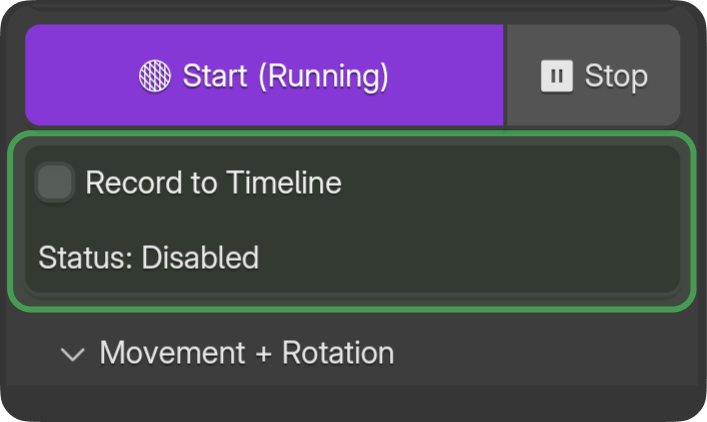
When Record to Timeline is enabled, blenderfly writes keyframes during timeline playback and when gamepad input is active.
Workflow
- Enable Record to Timeline.
- Set the timeline to the desired start frame.
- Start timeline playback (Space or A on gamepad).
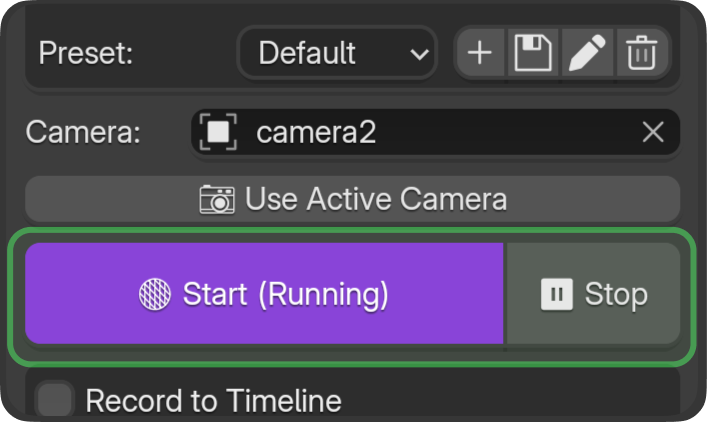
- Click Start in blenderfly.
- Fly the camera — keyframes are written in real time.
- Click Stop when done.
Create Path from Recording
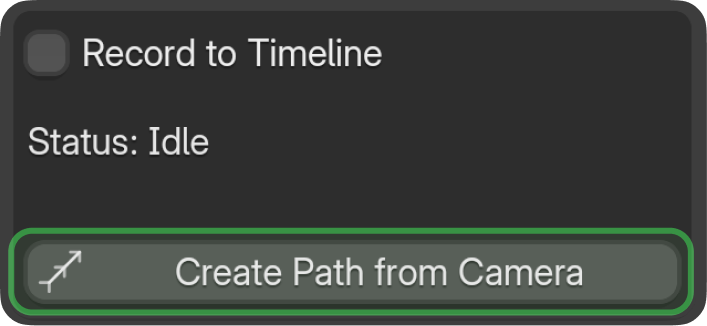
After recording keyframes, a button creates a simple path (curve) along the camera movement route. You can use this path for further animation or as a reference.
Recording Options
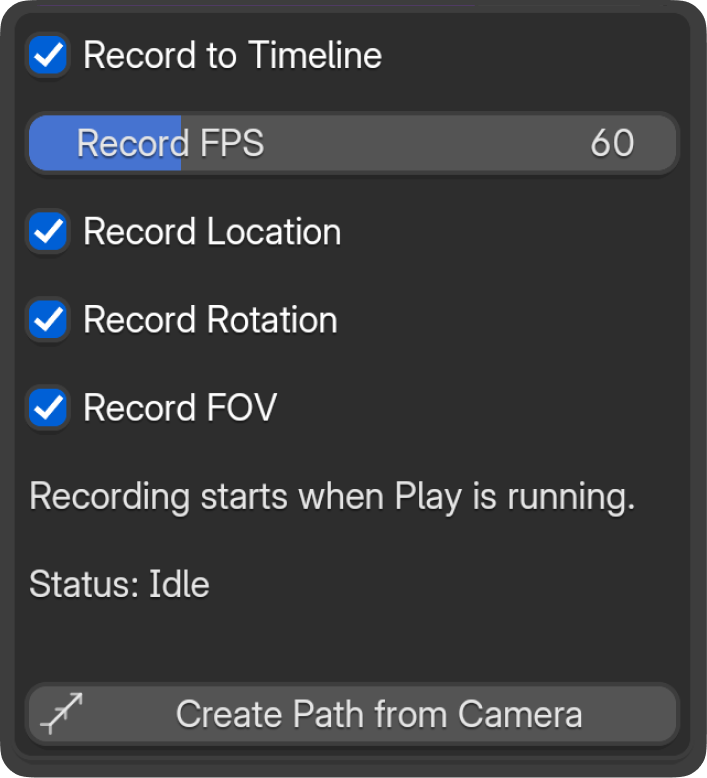
Record camera position. Record camera rotation. Record FOV (lens angle). For display purposes.
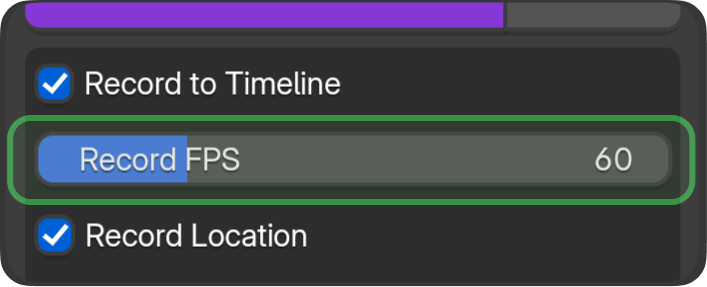
For correct keyframe recording, ensure the project FPS matches the Record FPS option in the addon.
Tips
- Use presets for consistent feel across multiple takes.
- Record multiple passes on different frame ranges for different shots.
- Scrub the timeline to review your pass before the next take.